Loading... Please wait...
Blog - kindle paperwhite repair
How to Replace the Battery in Amazon Kindle Paperwhite DP75SDI EY21
Posted by mpfproducts.com on 26th Feb 2015
Use this detailed step-by-step repair guide to help you replace the battery in your Amazon Kindle Paperwhite
This repair guide is for the following Amazon Kindle Paperwhite models:
- Kindle Paperwhite Wi-Fi
- Kindle Paperwhite 3G + Wi-Fi
- DP75SDI
- EY21
- A8Y-1496
- A8Z-2690
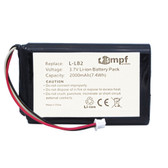
Necessary Replacement Parts:
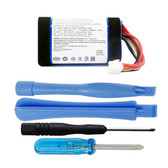
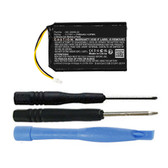
Necessary Installation Tools for Replacement:
Note: Above installation tools are included for FREE when this replacement battery is purchased from mpfproducts.com
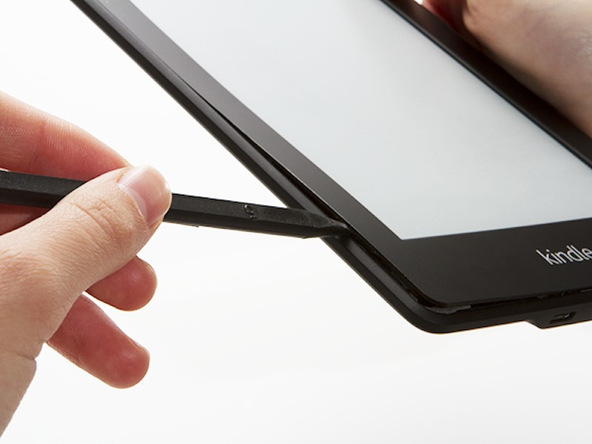
Step 1
- Use one of the plastic opening tools (images show metal spudger which can also be used) to gently remove and release the bezel from the screen.
- Start in a corner and work your way around the bezel with the plastic tool.
- Use care to not insert the tool too far under the bezel as this could cause damage the screen.

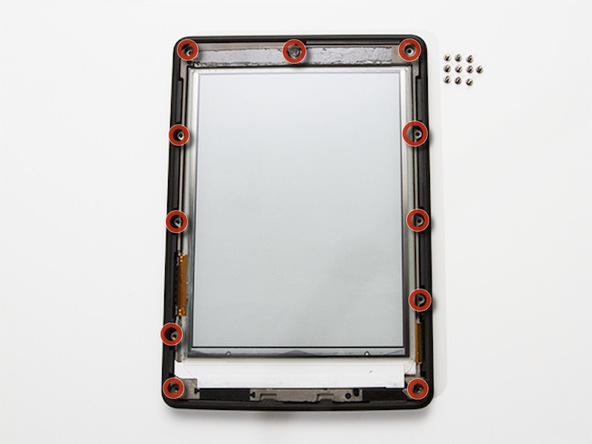
Step 2
- Locate and unscrew the eleven (11) Phillips screws surrounding the frame using a small Phillips #2 Screwdriver.
- Place all screws in a safe area as you will need them when you re-assemble your device.


Step 3
- Lift the mid-frame out of the casing. If it feels stuck, try sliding to the left first and then lift out.

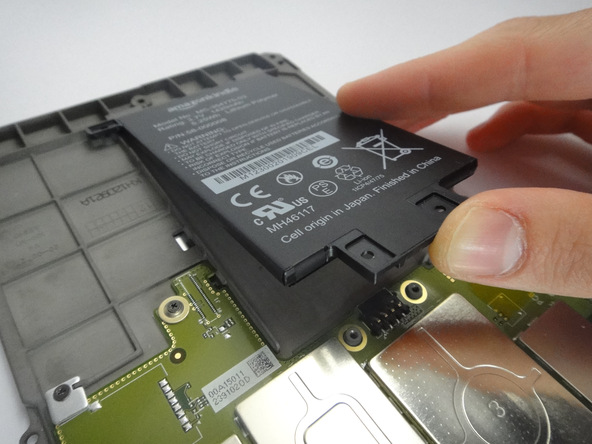
Step 4
- Turn over the mid-frame section and locate the battery.
- Remove the three (3) Phillips #2 screws that mount the battery to the mid-frame.
- Lift the battery from the bottom and slide out.

Step 5
- Once the old battery is removed from the metal battery casing, replace with your new MC-354775-03 Battery for the Kindle Paperwhite and follow the steps in reverse order to reassemble your Kindle.
Recent Posts
- » How to replace the EB-BT330FBU battery in a Samsung Galaxy Tab 4 8.0"
- » How to Replace the 26S1006A 58-000092 Battery in Kindle Fire HD 6 PW98VM
- » How to Replace the B01PQIL Battery for Barnes & Noble Nook Glowlight BNRV500
- » How to replace the LIP1359 battery in your Sony PS3 Dualshock 3 Controller
- » How to replace the LIS1442 battery in your Sony PS3 Move Navigation Controller