Loading... Please wait...
Blog - iphone 5s battery
How to Replace the 616-0720, 616-0722, 616-0728 Battery in your Apple iPhone 5s
Posted by mpfproducts.com on 3rd Jun 2016
Use this detailed step-by-step repair guide to help you replace the 616-0720, 616-0722, 616-0728
Battery for Apple iPhone 5s A1453, A1533.
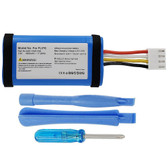
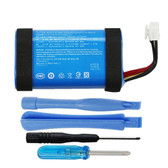
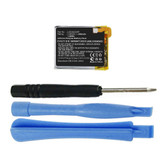
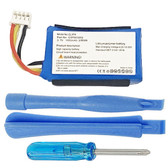
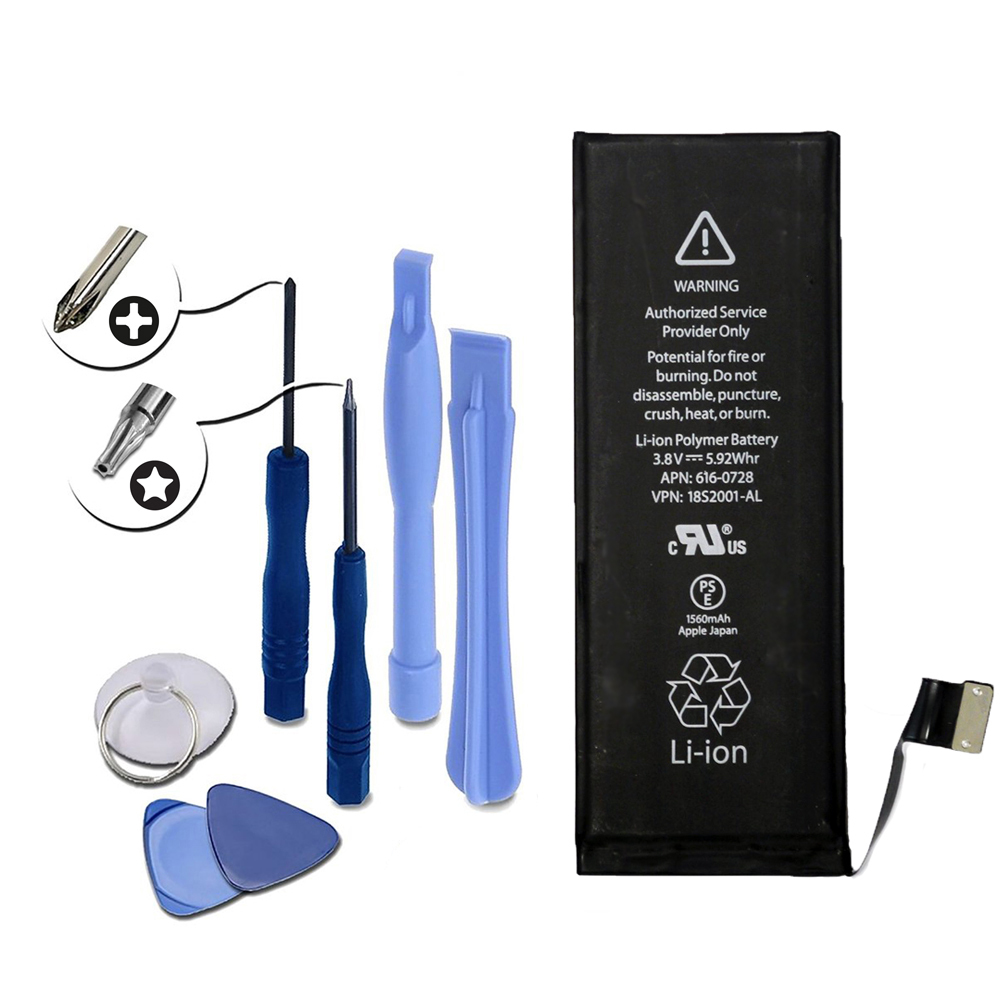
Necessary Replacement Parts:
Necessary Replacement Tools:
Please Note: Above tools are included for FREE when this replacement battery is purchased from MPFProducts.com.
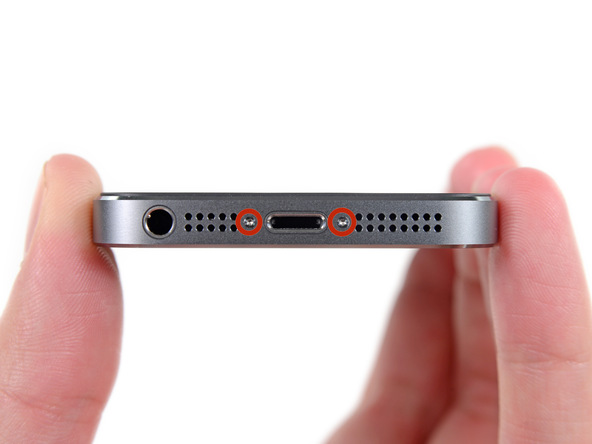
Step 1
- Power off your iPhone.
- Remove the (2) pentalobe screws
located on both sides of the lightning connector. Place the screws in a
safe location for reassembly later.
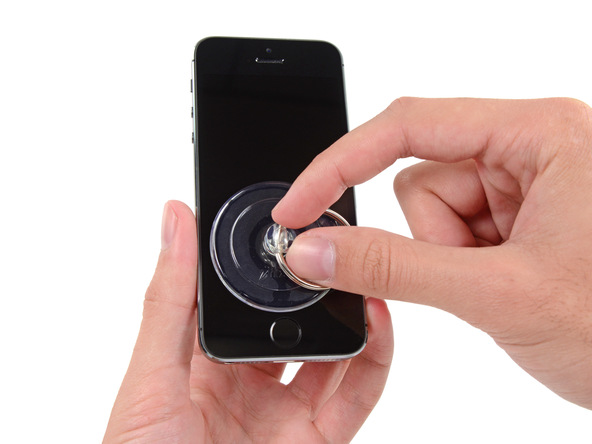
Step 2
- Press suction cup to the screen above the home button.
- Be sure the suction cup is pressed securely and has a tight seal.
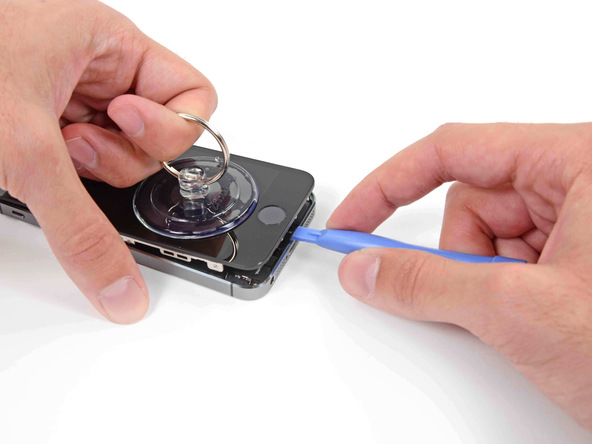
Step 3
- Hold the iPhone down with one hand, and pull up on the suction cup so the front panel assembly slightly separates from the back case.
- The front panel has a tight fit, so be sure to take your time and apply constant, firm pressure. Using a plastic opening tool, gently pry the back case away (down) while continuing to pull up with the suction cup.
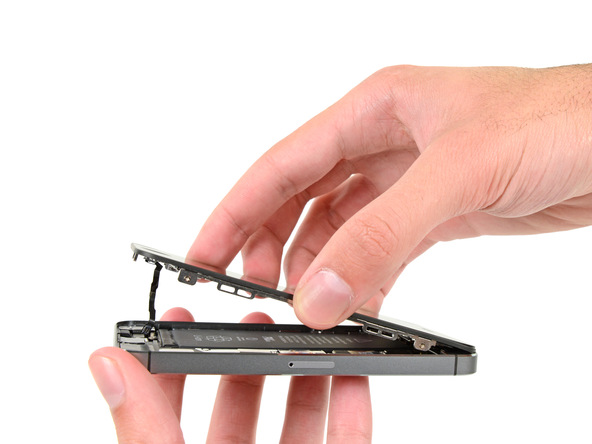
- Pull the (home button) end of the front panel away from the rear case, take caution and use the top of the phone as a hinge. Do not try to completely remove the front panel from the rear. There are clips that hold the front panel to the back case so you may need to use the suction cup along with the plastic opening tool to free the clips from the front panel.
There are several cables attached at the top of the phone, only open the phone enough so you can disconnect the cables.
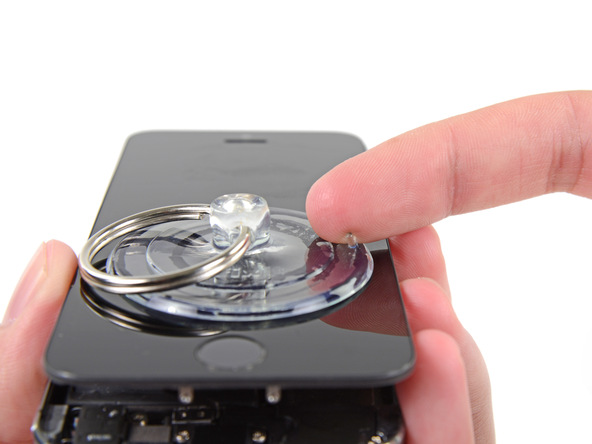
Step 4
- Pull the plastic nub to release the seal on the suction cup and remove the suction cup from the iPhone.
Step 5
PLEASE NOTE: When doing this step do not attempt to open your phone too far, if you allow it to fall flat this will strain and/or damage the phone. Cables should remain loose and not pulled or tight.
- With the screen side facing down, open the phone enough to reveal the metal bracket which covers the home button.
- Use a plastic opening tool to push the metal bracket free and remove it. Take note of the orientation of the bracket for reassembly.
Step 6
- Use the tip of a spudger or plastic opening tool to pry the home button cable out of its socket. Do not pull on or remove the socket itself, only free the cable.

Step 7
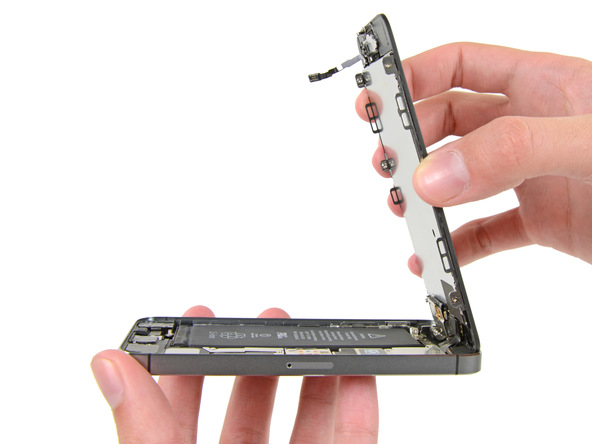
During the next few steps, keep the front panel of the phone supported at a 90° angle until the step where you remove the front panel assembly.
- Once the connector is released, pull the home button end of the phone away from the rear case. Use the top end of the phone as a hinge as shown below.
Step 8
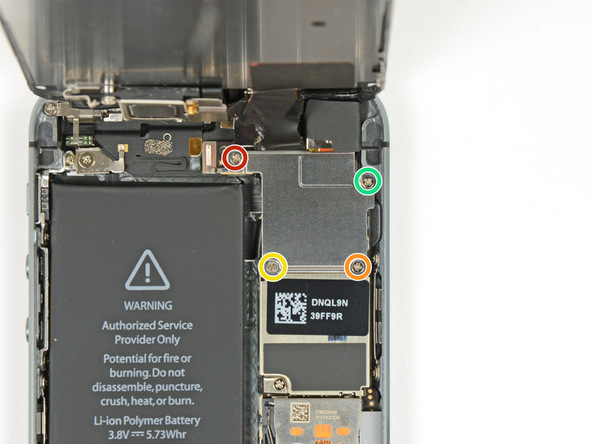
Remove the 4 Phillips screws securing the front panel cable bracket, we suggest labeling and placing each in a safe area for accurate reassembly later:
- 1- 1.7 mm screw (shown below in red)
- 1 - 1.2 mm screw (shown below in orange)
- 1 - 1.3 mm screw (shown below in yellow)
- 1 - additional 1.7 mm screw (shown in green)
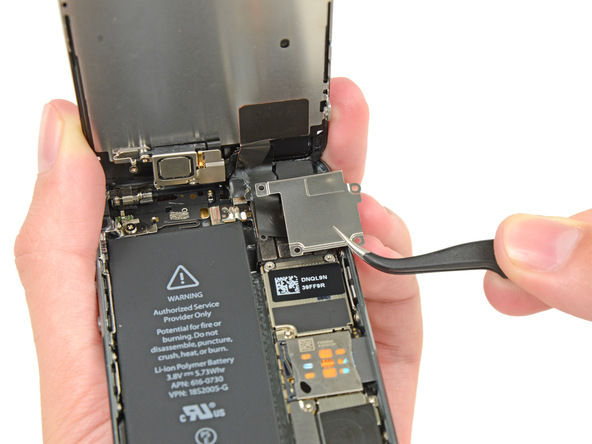
Step 9
- Remove the front panel assembly cable bracket from the board.
Step 10
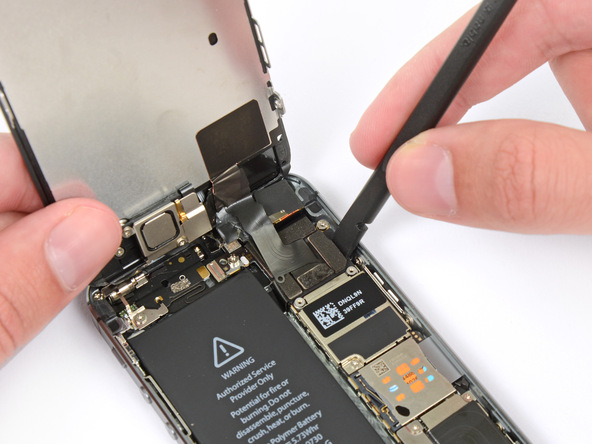
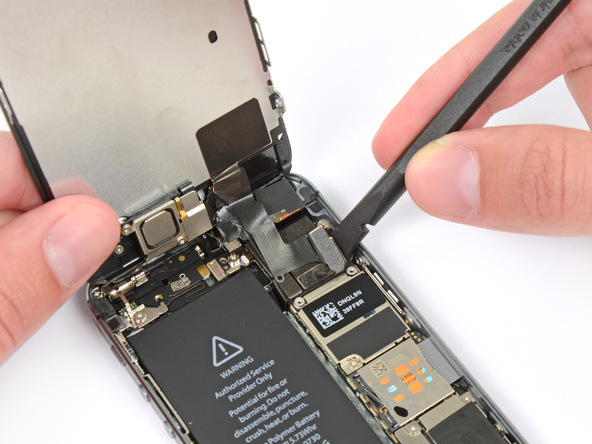
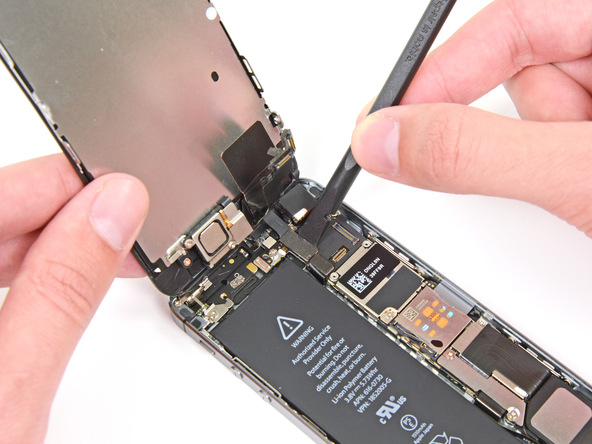
- Using the flat end of a plastic opening tool, disconnect the front-facing camera and sensor cable.
Step 11
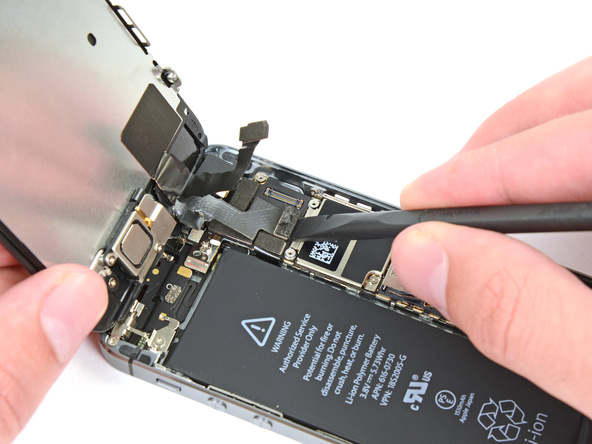
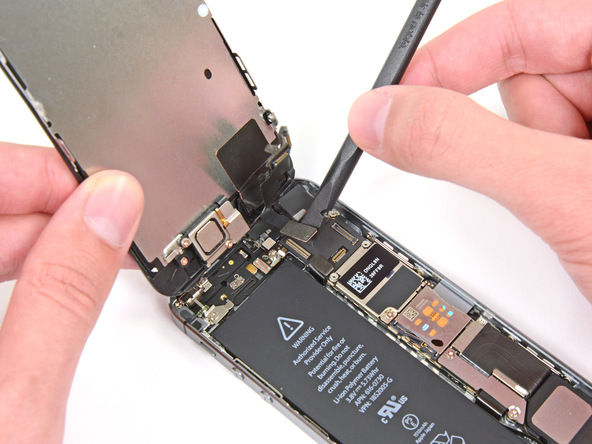
- While supporting the front panel, disconnect the LCD Cable connector.
PLEASE NOTE: Be careful when reassembling your phone as the LCD cable has been known to pop off of its connector. This will result in a blank screen or white lines across the screen when you power your device back on. If this occurs simply reconnect the cable and power cycle your phone. The best way to power cycle your phone is to disconnect and then reconnect the battery connector.
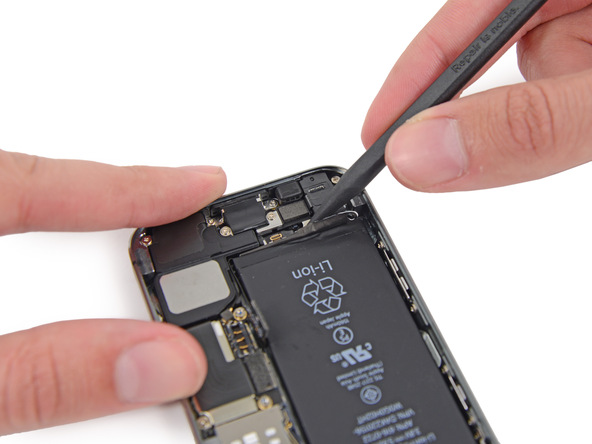
Step 12
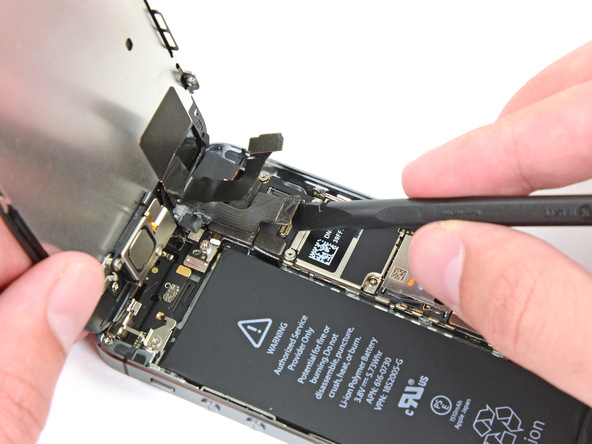
- Disconnect the digitizer cable connector.
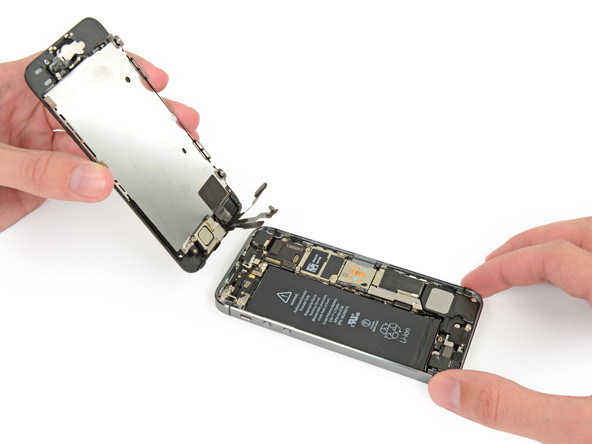
Step 13
- Remove the front panel assembly from the rear case of the phone.
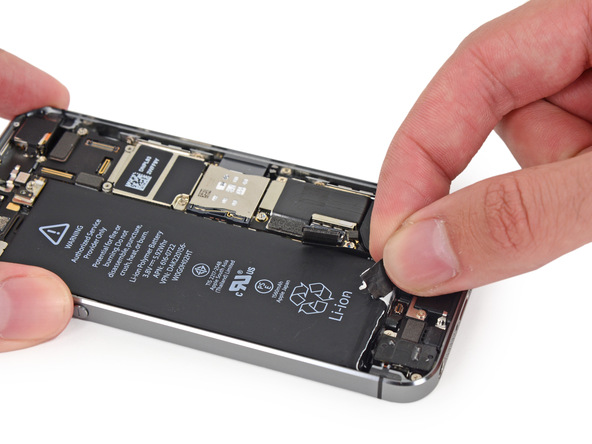
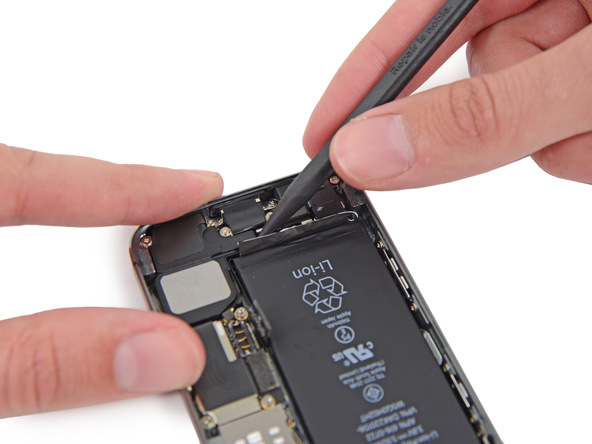
Step 14
- Using a plastic opening tool, run the tip between the battery and the headphone jack to unfold the battery adhesive tab.
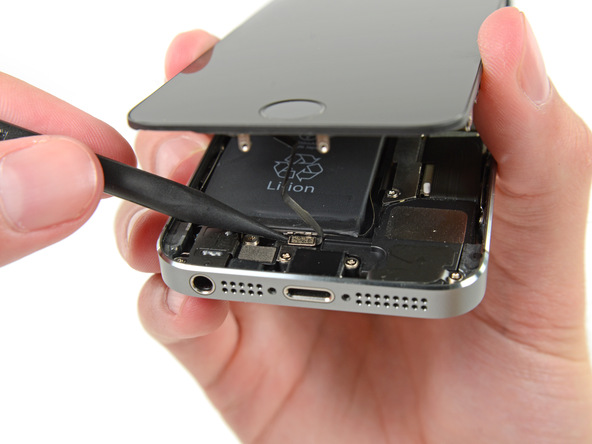
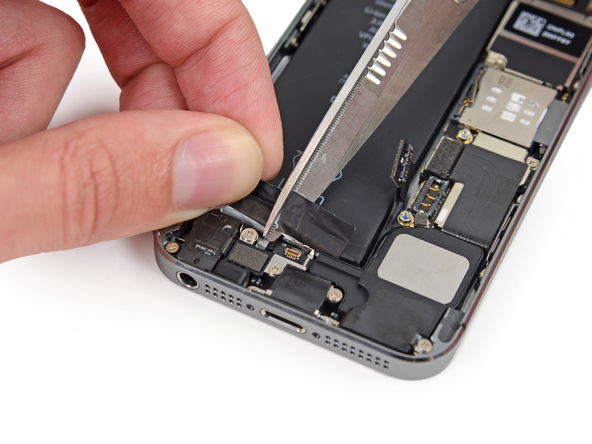
Step 15
- Pull the adhesive tab away from the phone
- Carefully cut the black adhesive tab between the two white adhesive strips to separate them
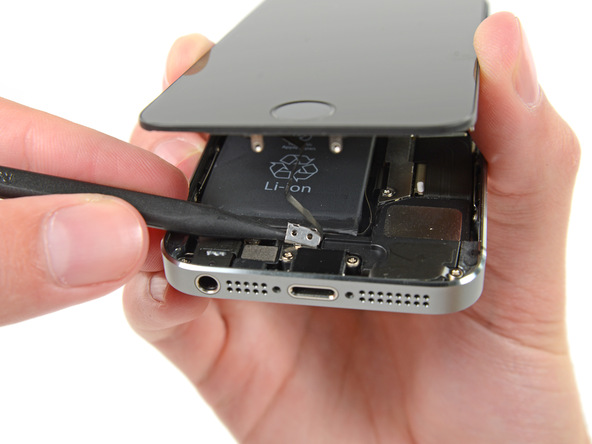
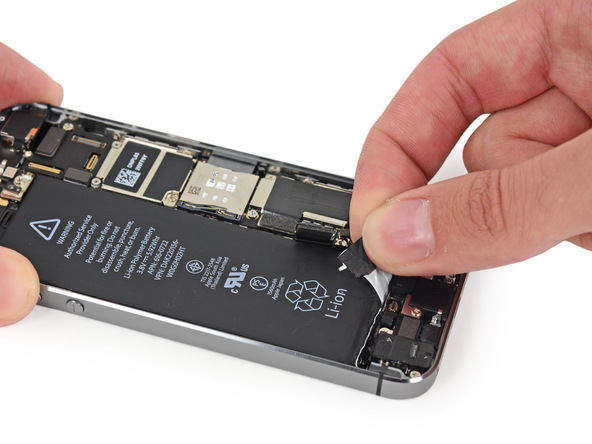
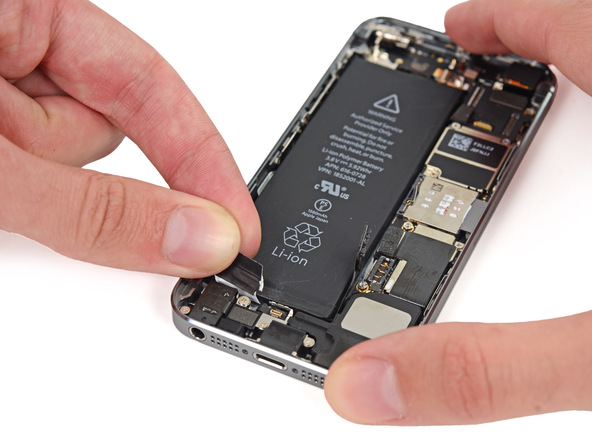
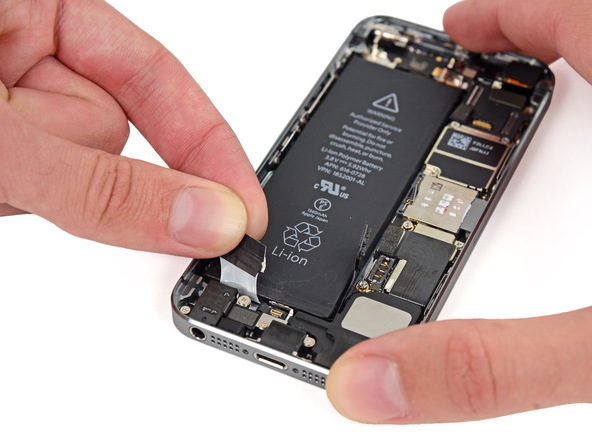
Step 16
- Carefully pull the innermost tab evenly straight up. Do not twist the tab, keep the adhesive strip as flat and wide as possible avoiding phone components that could cause the strip to tear.
- Pull the battery tab at a 45° angle until it is freed from the phone.
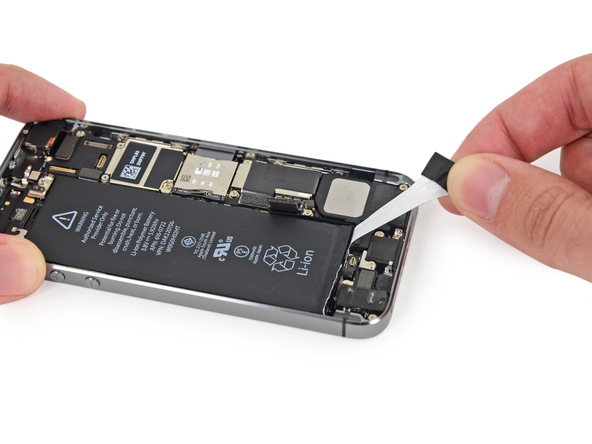
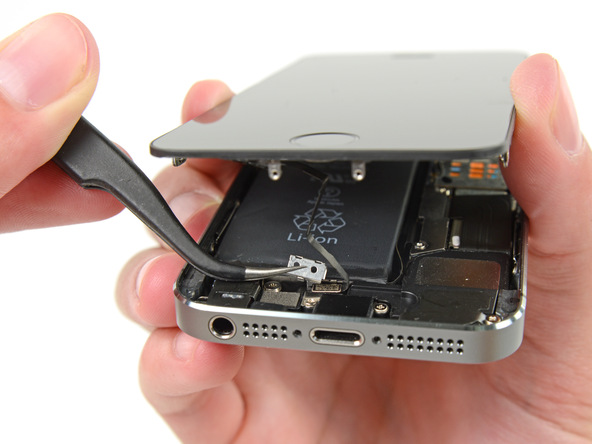
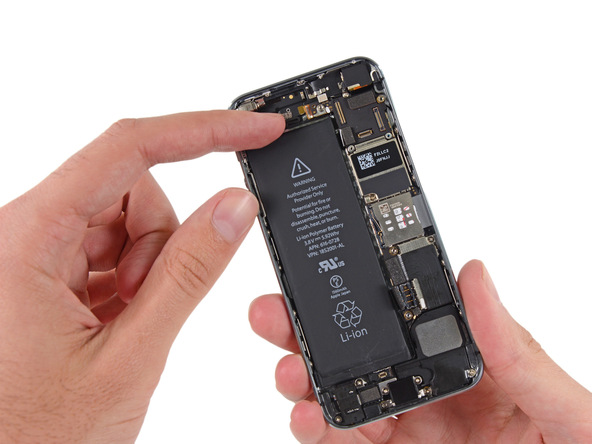
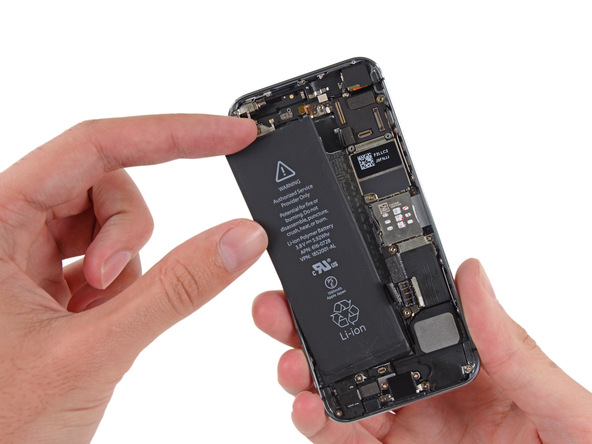
Step 17
- Pull the outside battery adhesive tab straight up and out until it is freed from the phone.
Step 18
- Pull the battery out of the case to remove.
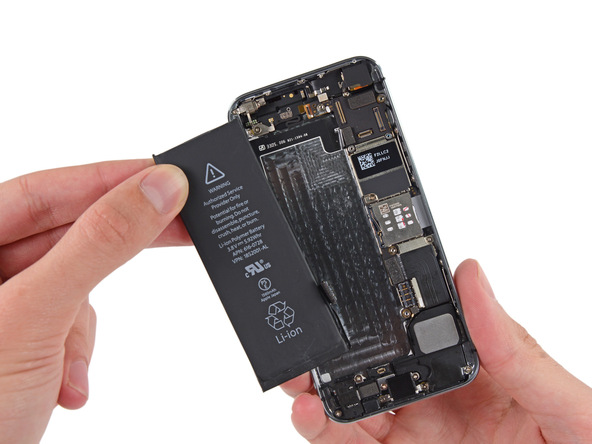
Once the old battery is removed, replace with your new
(pictured below) and follow steps in reverse order to reassemble. Use double-sided tape if needed to replace the adhesive strips during reassembly.
Recent Posts
- » How to replace the EB-BT330FBU battery in a Samsung Galaxy Tab 4 8.0"
- » How to Replace the 26S1006A 58-000092 Battery in Kindle Fire HD 6 PW98VM
- » How to Replace the B01PQIL Battery for Barnes & Noble Nook Glowlight BNRV500
- » How to replace the LIP1359 battery in your Sony PS3 Dualshock 3 Controller
- » How to replace the LIS1442 battery in your Sony PS3 Move Navigation Controller